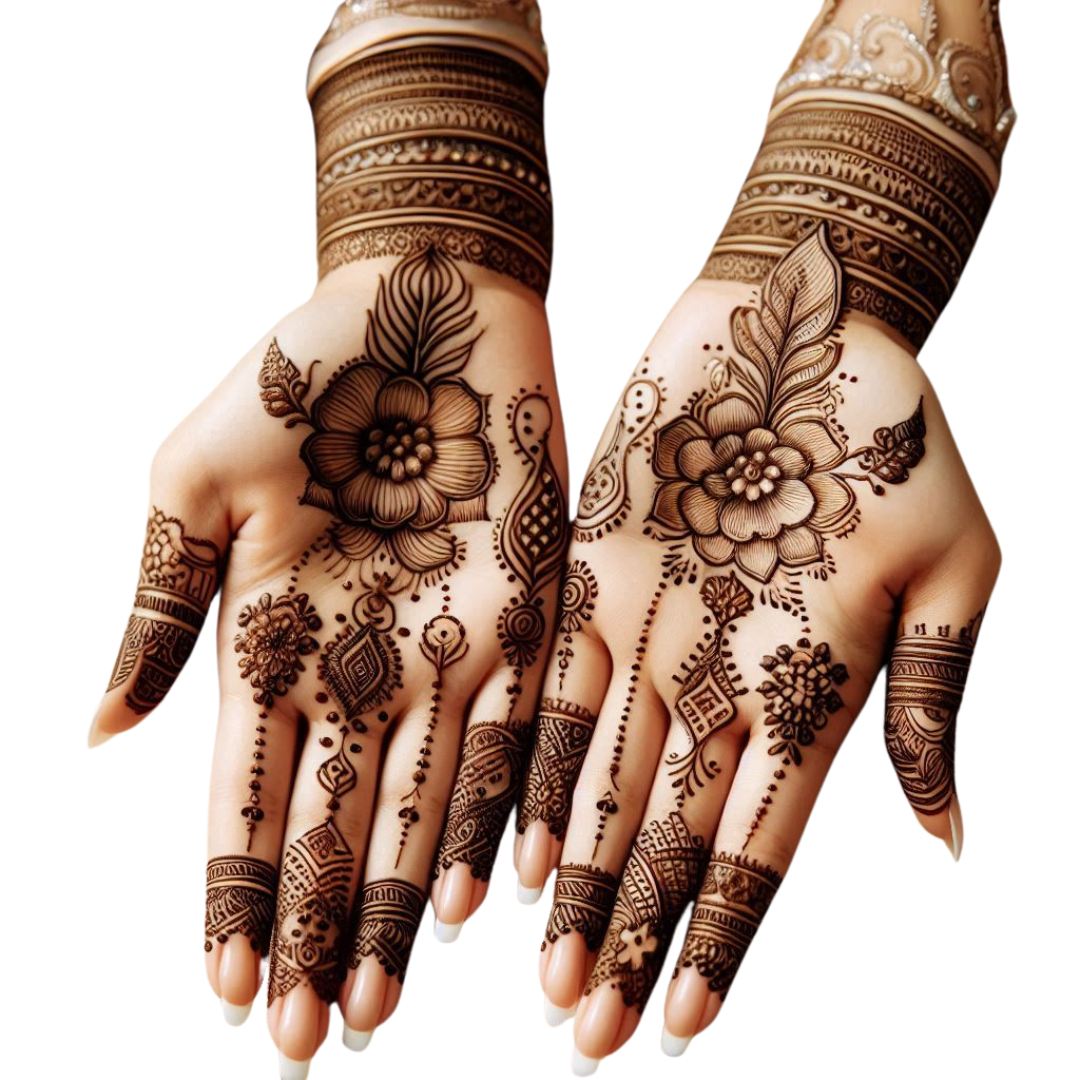
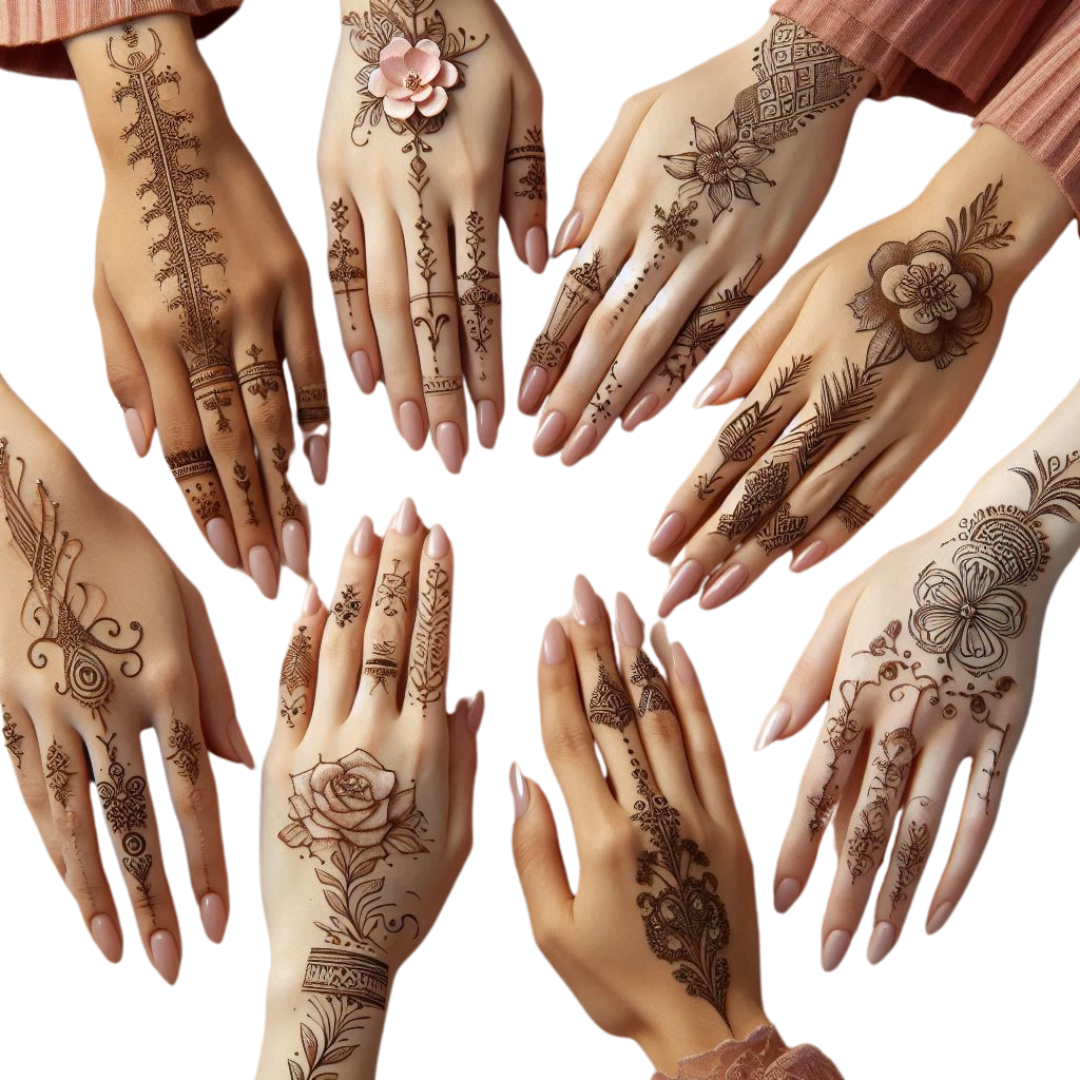
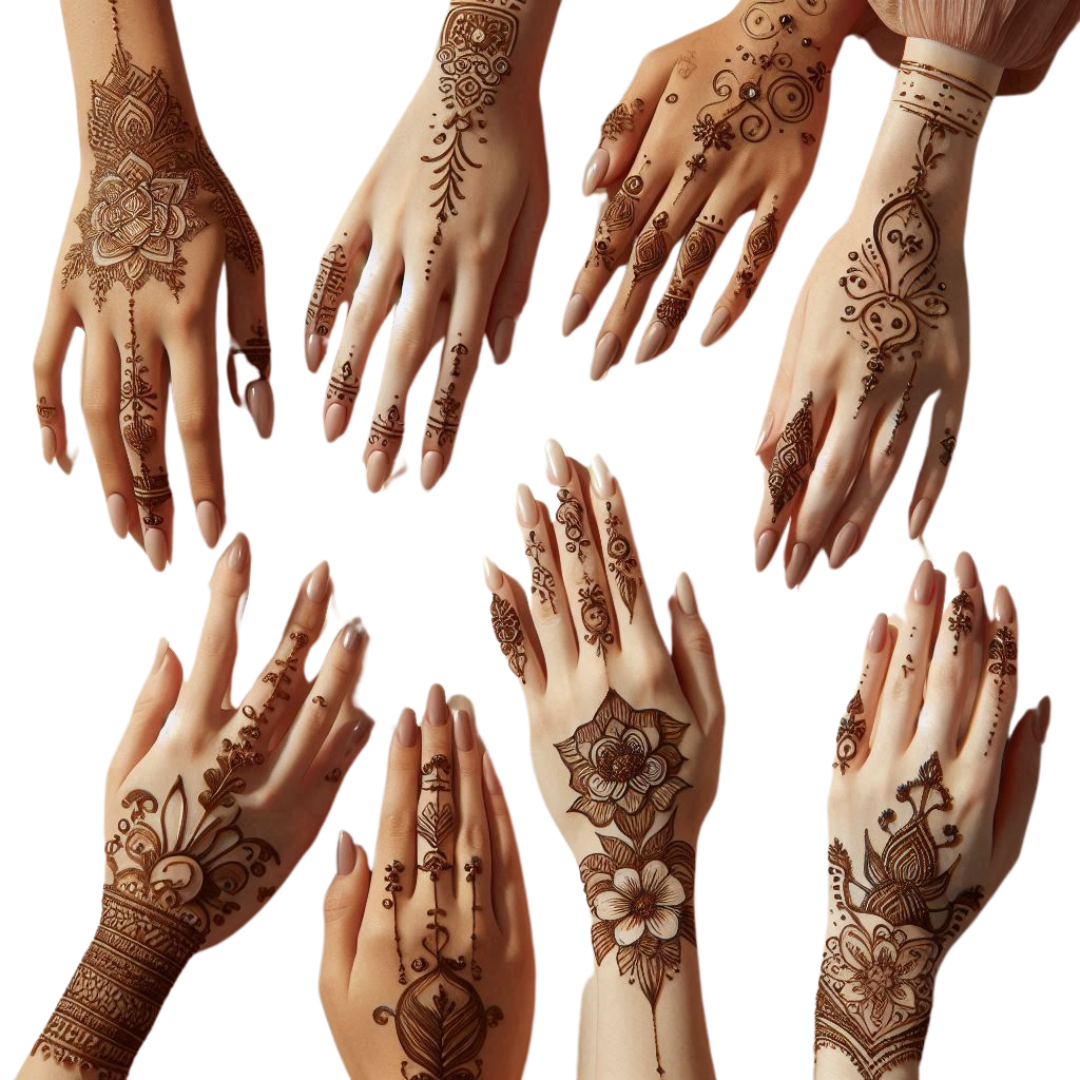
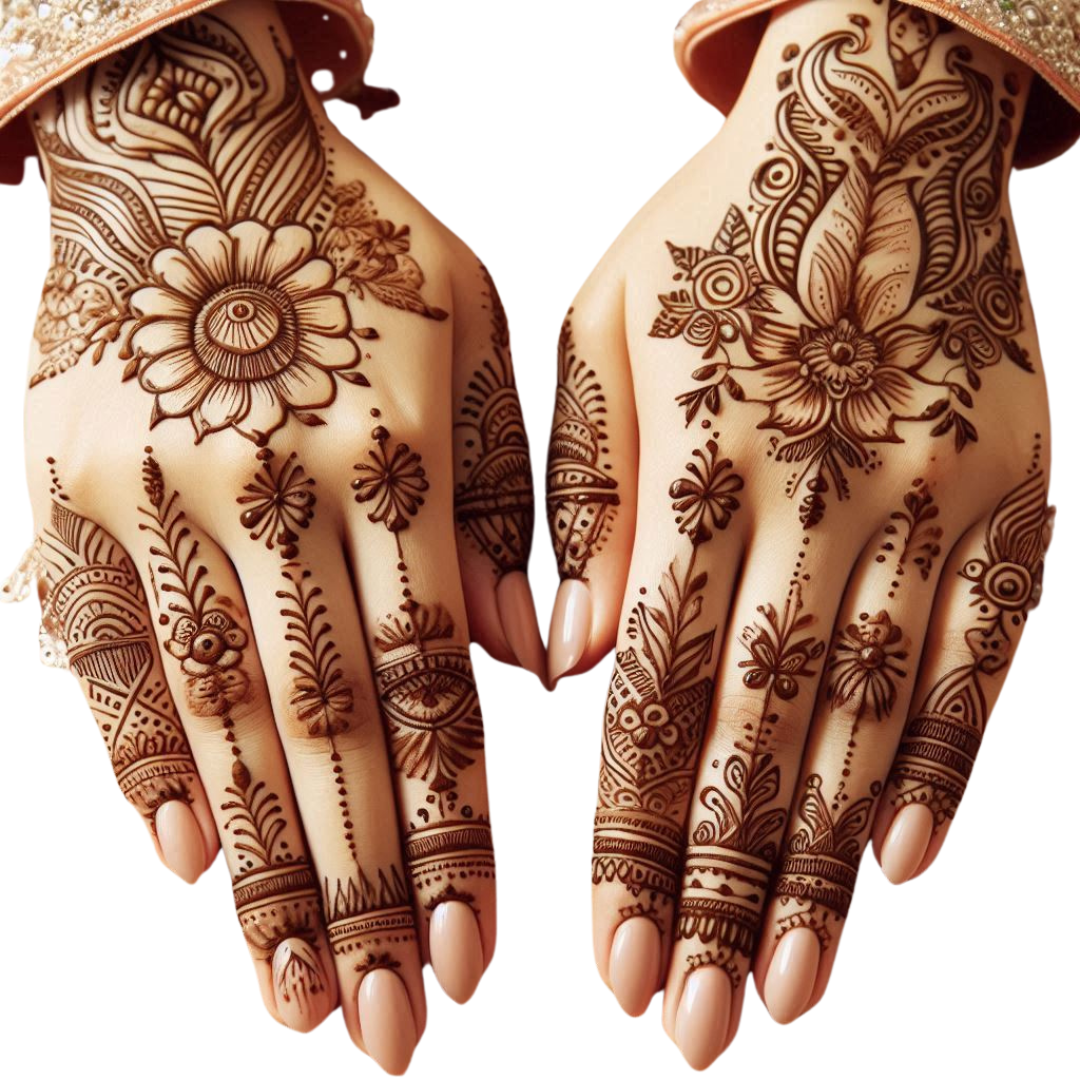
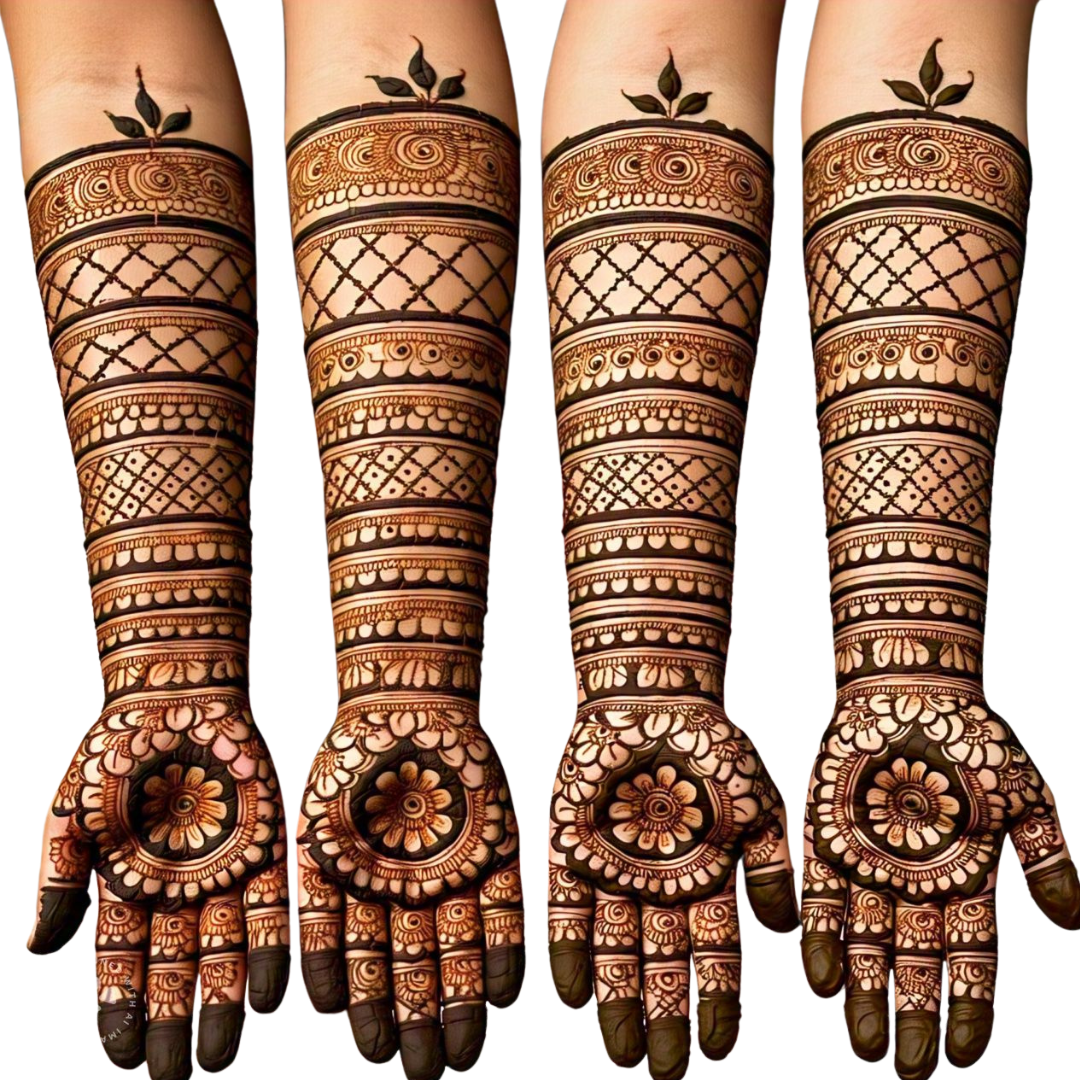
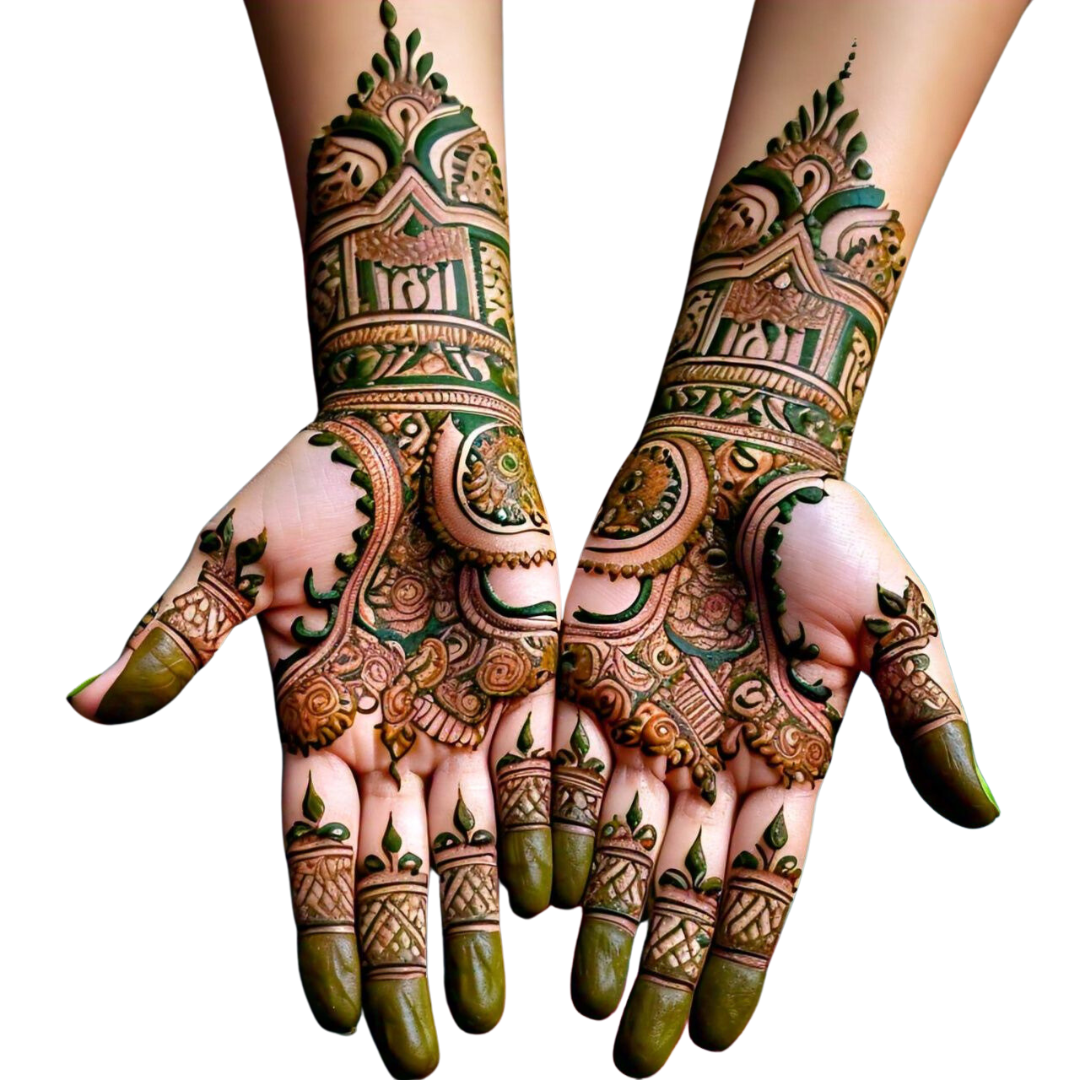
Mehndi, a beautiful form of symbolic art deeply rooted in Indian and Middle Eastern traditions, is cherished as both cultural heritage and modern body art. For those who want to enjoy the elegance of mehndi without the intricacy of traditional bridal or festive designs, simple mehndi styles are a perfect choice.
Simple mehndi designs offer a quick, easy way to enjoy the beauty of henna without a major time commitment. From floral and geometric shapes to nature-inspired elements, there are plenty of ways to create unique, elegant mehndi designs that suit any occasion. Whether you’re a beginner or want a minimalist look, simple mehndi is all about creativity, tradition, and a dash of personal style!
Let’s explore how to get started with simple mehndi, learn some DIY tips, and discover easy design ideas!
Introduction to Mehndi Art
Mehndi, also known as henna, is a natural dye with origins tracing back thousands of years. This art form is used in weddings, festivals, and family celebrations, where it symbolizes joy, luck, and good fortune.
The Cultural Significance of Mehndi
Traditionally, mehndi has a significant role in Indian and Pakistani customs, and it represents more than just decoration—it’s a connection to one’s heritage and culture.
Modern Popularity of Simple Mehndi Designs
Today, many people favour minimalistic, DIY mehndi designs, especially those who are new to the art. Simple mehndi patterns are beginner-friendly, making them popular for a variety of occasions without the need for intricate patterns.
Why Choose Simple Mehndi Designs?
Convenience and Ease
Simple designs are easy and quick to create. Perfect for DIY applications, they allow even beginners to create stunning patterns with minimal effort.
Versatility for Various Occasions
Whether it’s a casual get-together or a wedding, simple mehndi designs offer versatile elegance that works for any setting.
Ideal for Beginners
For those starting, simple designs are a great entry point. You can master basic patterns like flowers, vines, and geometric shapes, then gradually build up to intricate bridal mehndi if desired.
Basic Tools Needed for Simple Mehndi Designs
Henna Cones
The henna cone is the most traditional tool, providing easy control for both small designs and larger, flowing patterns.
Stencils and Stamps
Stencils and stamps are ideal for those who want quick, consistent designs. These tools are helpful for beginners who may want extra guidance.
Optional Accessories for Detailing
For added flair, you can use small gems, glitter, or shimmery powder to make your mehndi stand out.
Tips for Creating Simple Mehndi Designs
Start with Basic Patterns
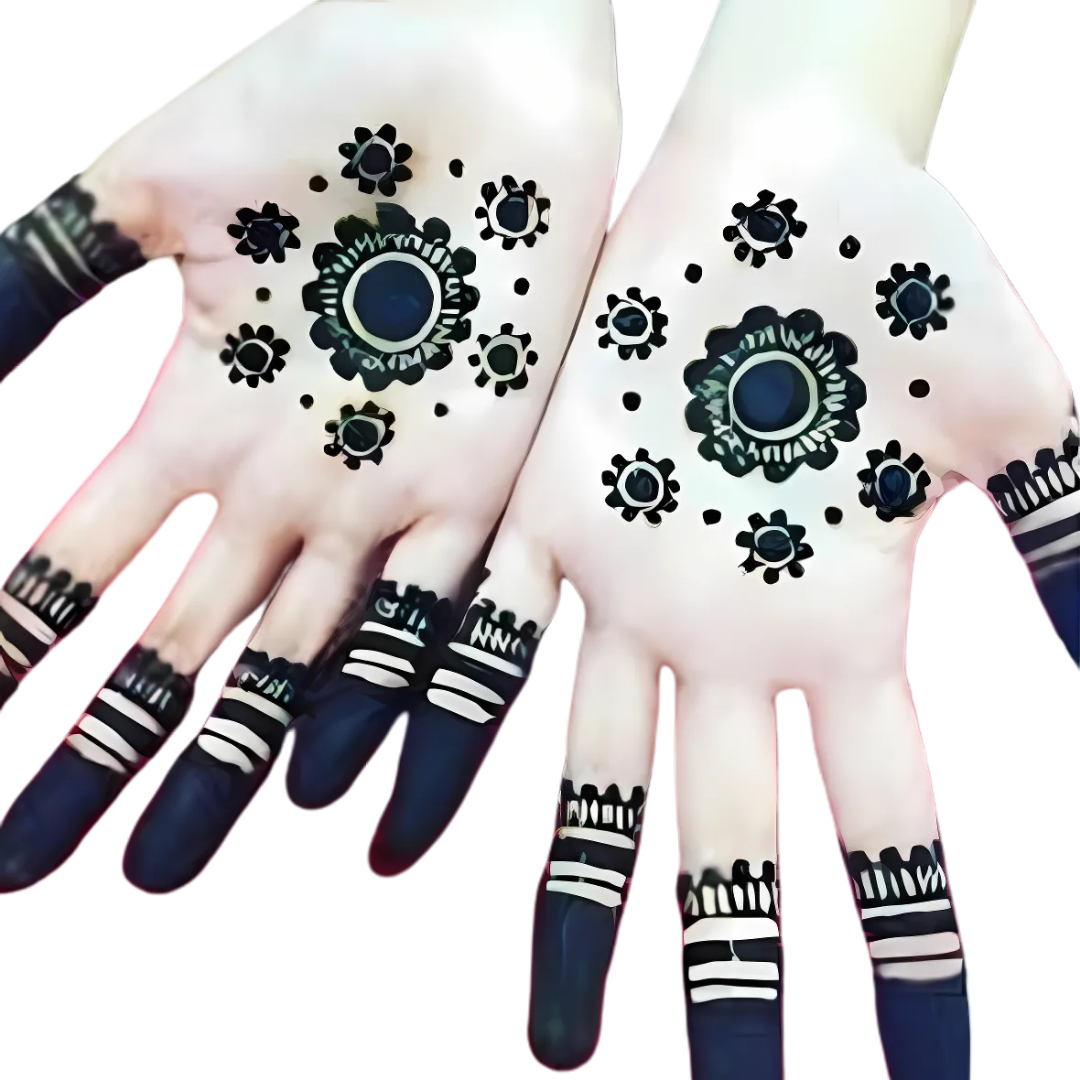
Begin with simple shapes like dots, circles, or small flowers. Adding details like leafy vines or basic geometric shapes can elevate your design without overwhelming it.
Practice on Paper First
Get comfortable with the henna cone by practising on paper. This step helps you achieve the right flow and control before applying it to your skin.
Experiment with Different Shapes
You can create a balanced and creative look by combining various shapes, such as stars, hearts, and forearm designs.
Easy-to-Follow Simple Mehndi Designs
Basic Floral Patterns
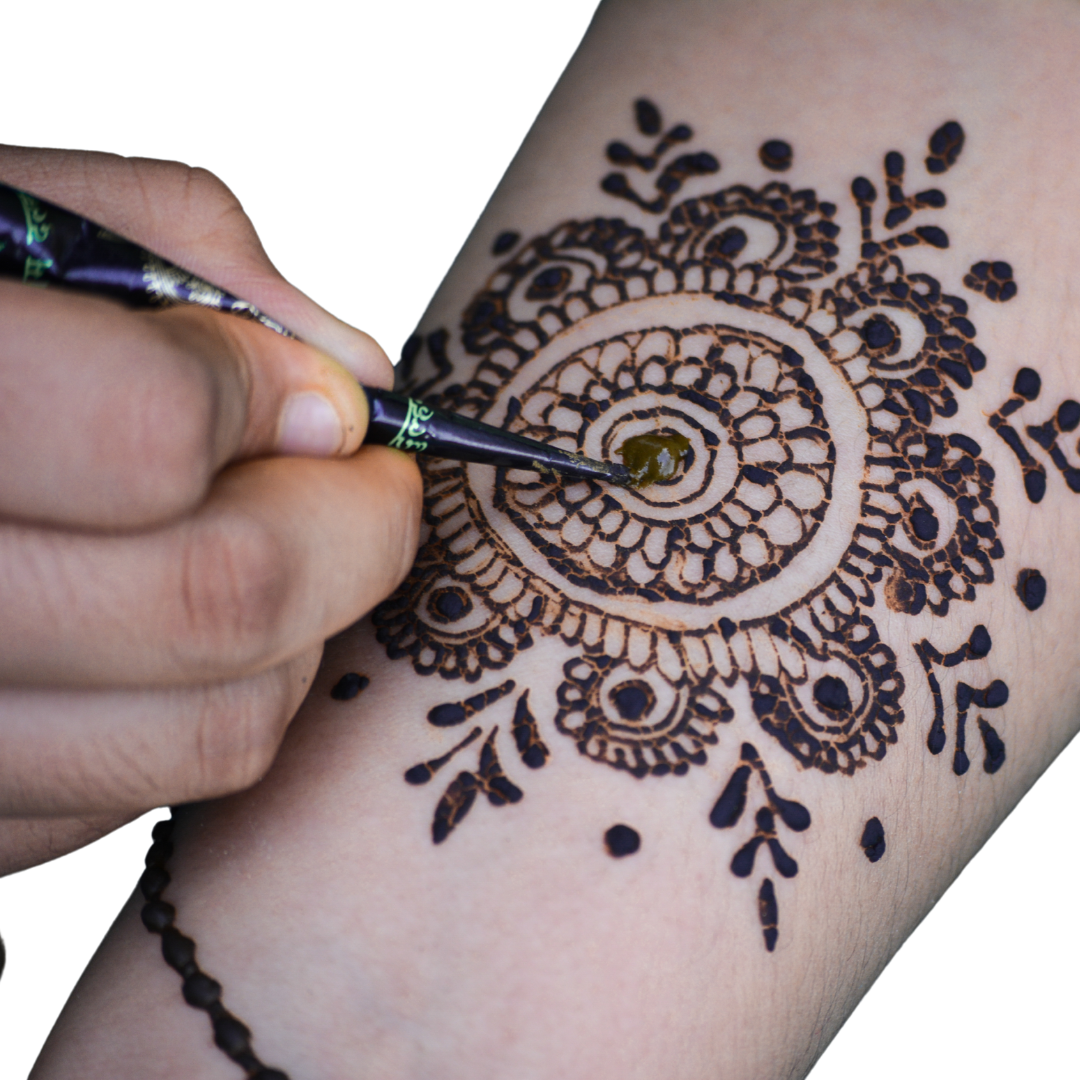
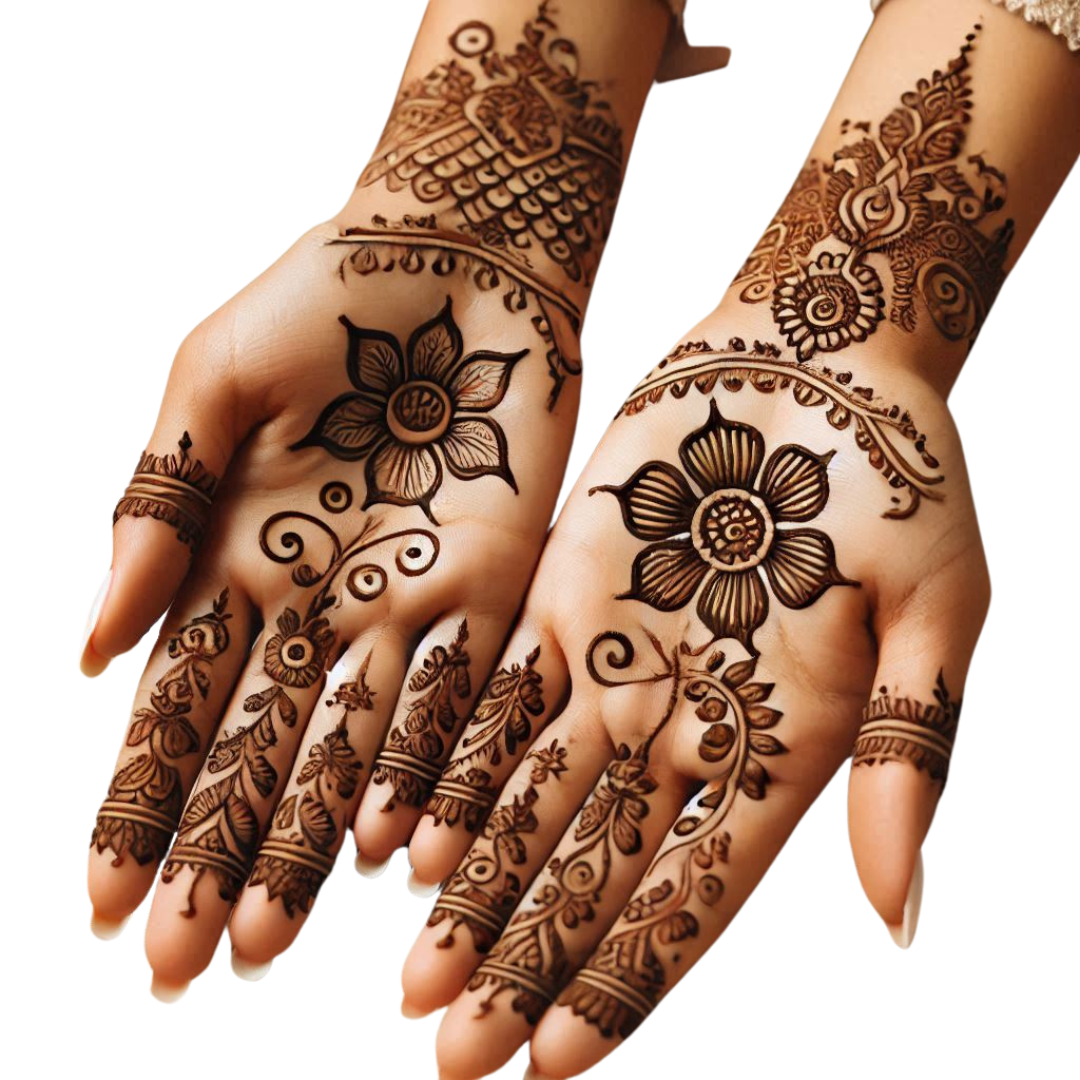
Floral designs are perfect for beginners. Start with a central flower, then add delicate leaves and vines around it.
Geometric and Line-Based Designs
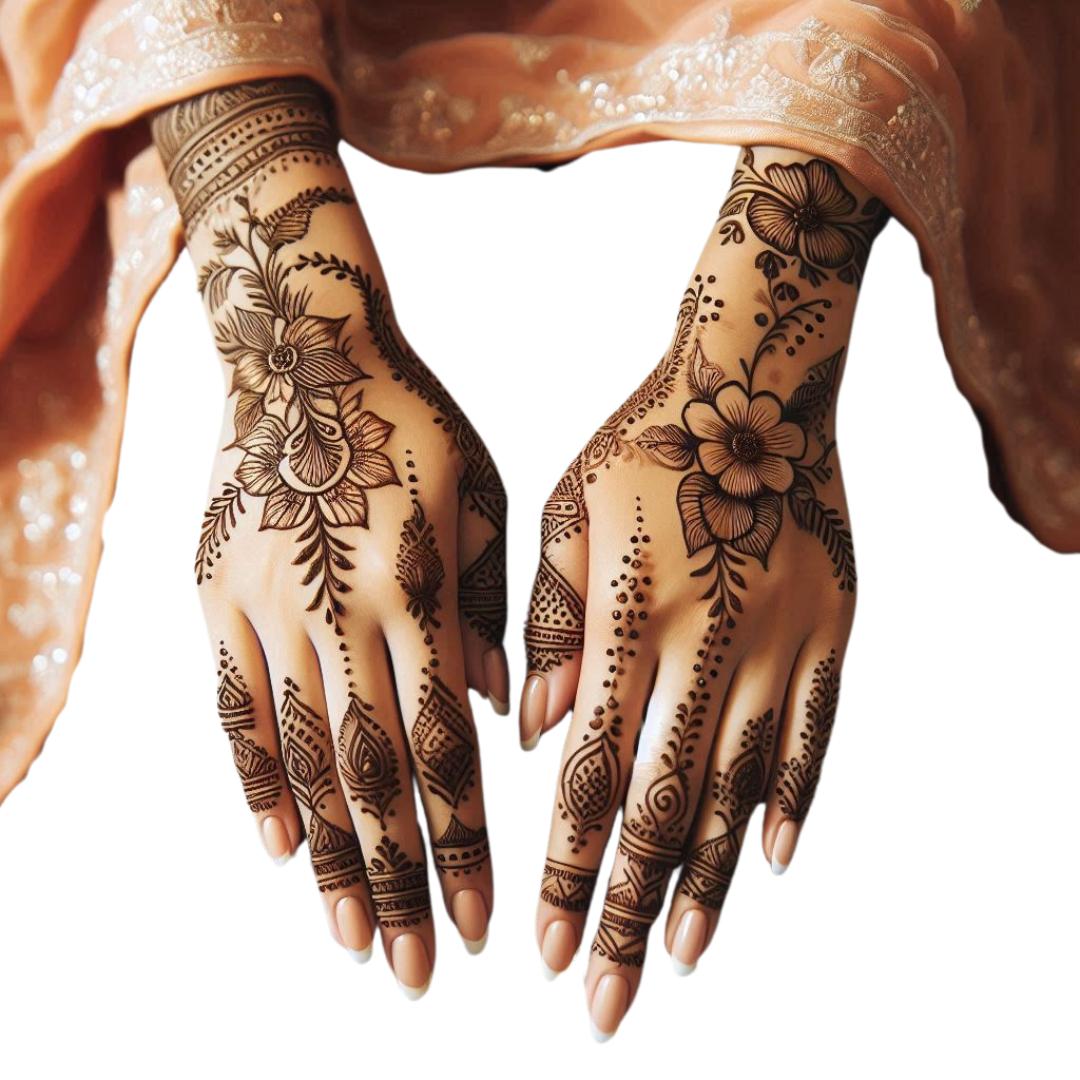
Use triangles, lines, and dots for a contemporary, clean aesthetic. These designs work well on the fingers and wrists.
Leafy and Nature-Inspired Elements
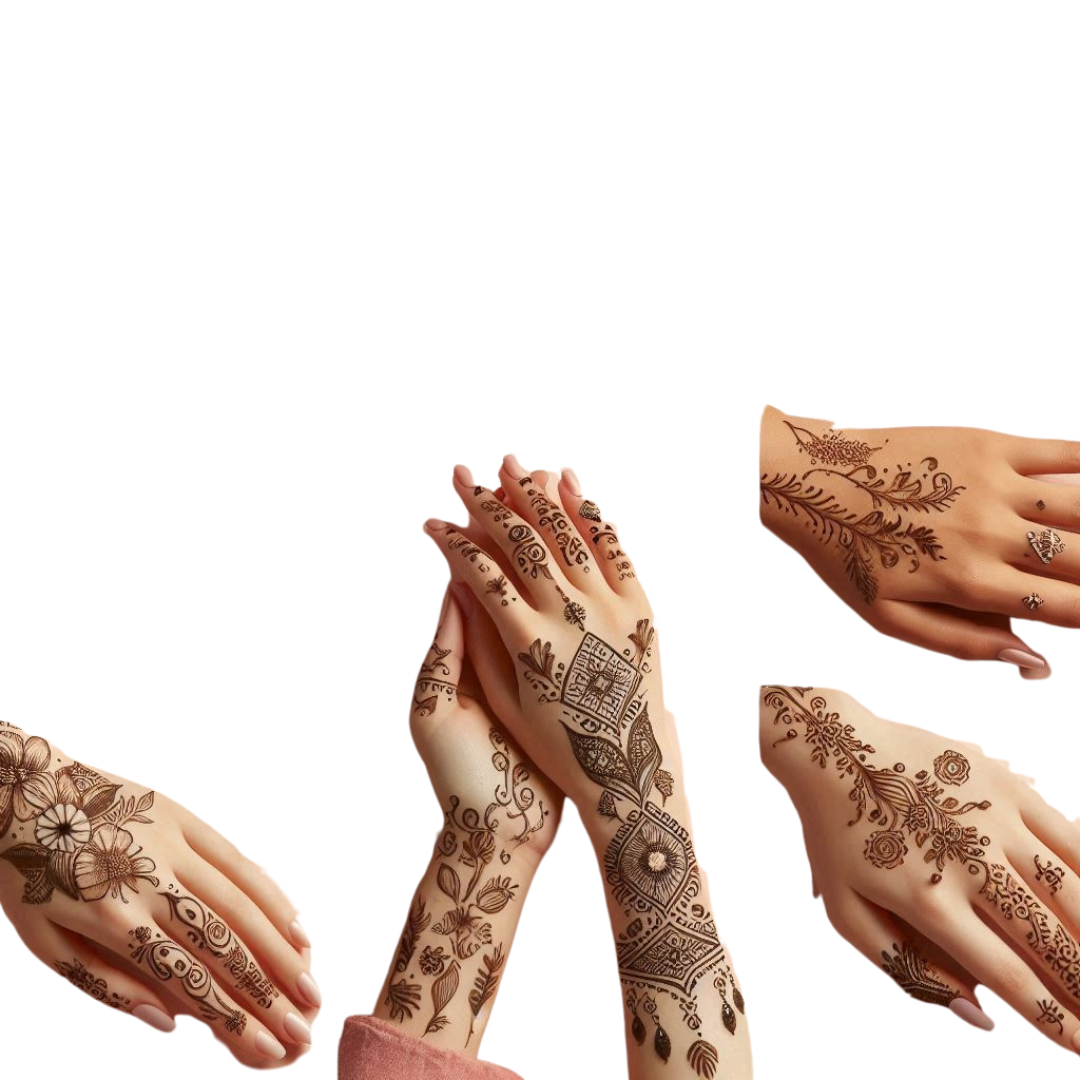
Nature-inspired patterns like leaves and branches give a natural look that’s easy to create yet eye-catching.
Step-by-Step Guide for a Simple Mehndi Design
Clean and Prepare the Skin
Wash your hands and dry thoroughly. Clean skin allows for better colour adherence and longer-lasting stains.
Apply the Henna Cone
Hold the cone as you would a pen. Start with small dots or lines before moving on to larger patterns.
Let the Mehndi Dry Naturally
Leave the mehndi on for at least 1-2 hours for the best colour. The longer it stays, the darker the stain.
Aftercare for Longer-Lasting Mehndi
Avoid Water Contact Initially
Water can wash away the colour before it fully sets, so avoid water for about 12 hours after application.
Apply Lemon-Sugar Mixture
A dab of lemon-sugar mixture helps seal the henna and enhance the colour for a lasting effect.
Use Natural Oils for Enhanced Color
Applying coconut or eucalyptus oil after scraping off the mehndi paste helps to keep the colour vibrant.
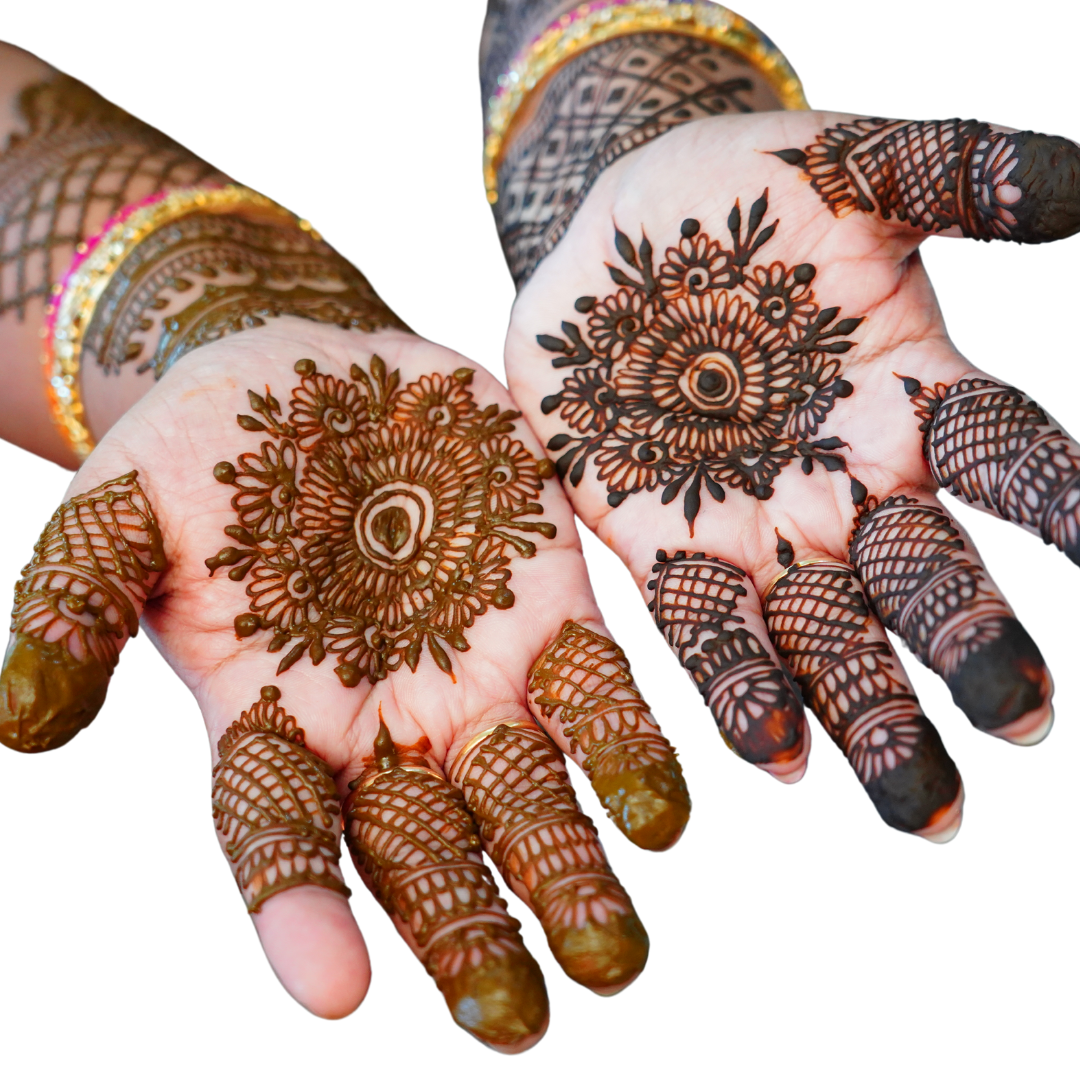
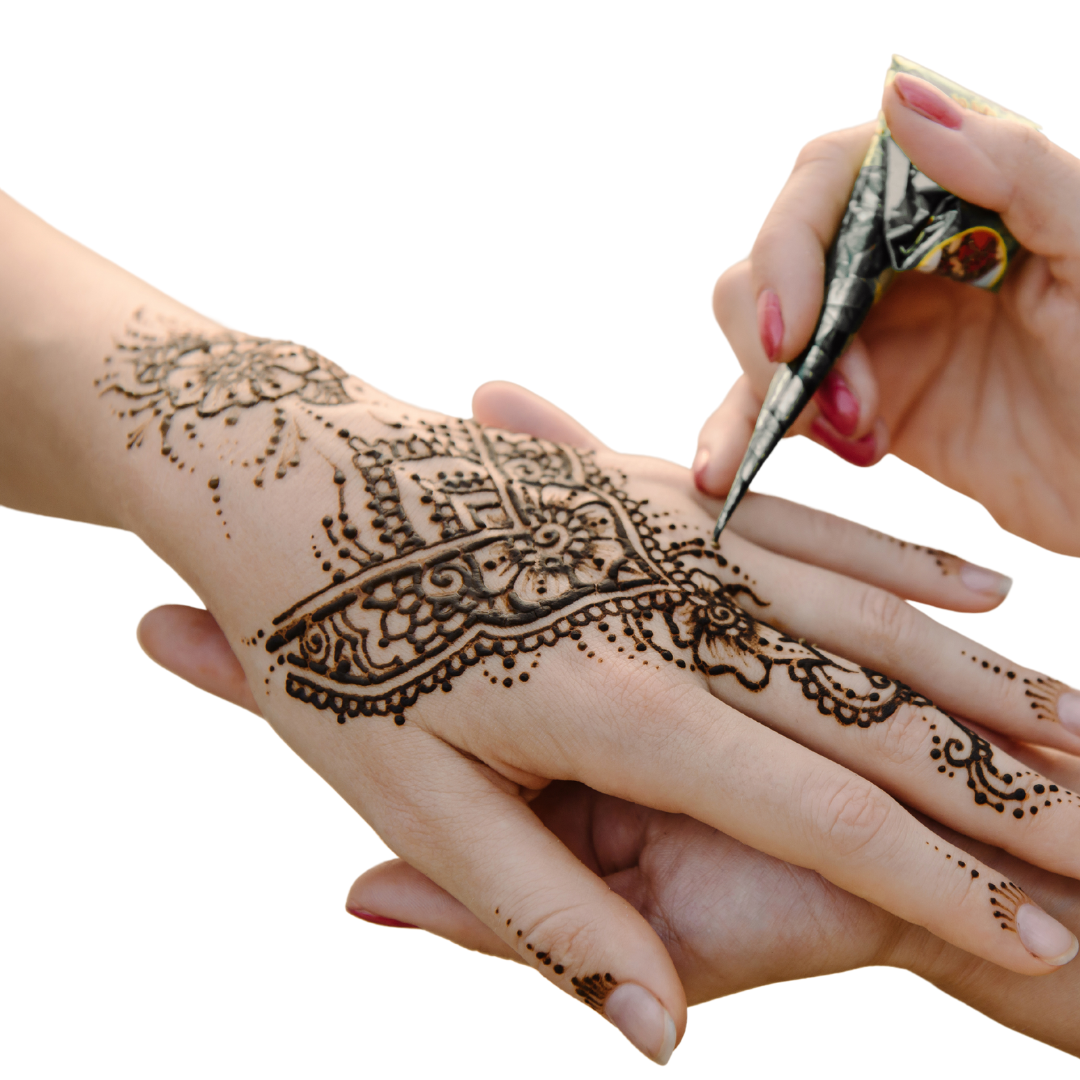
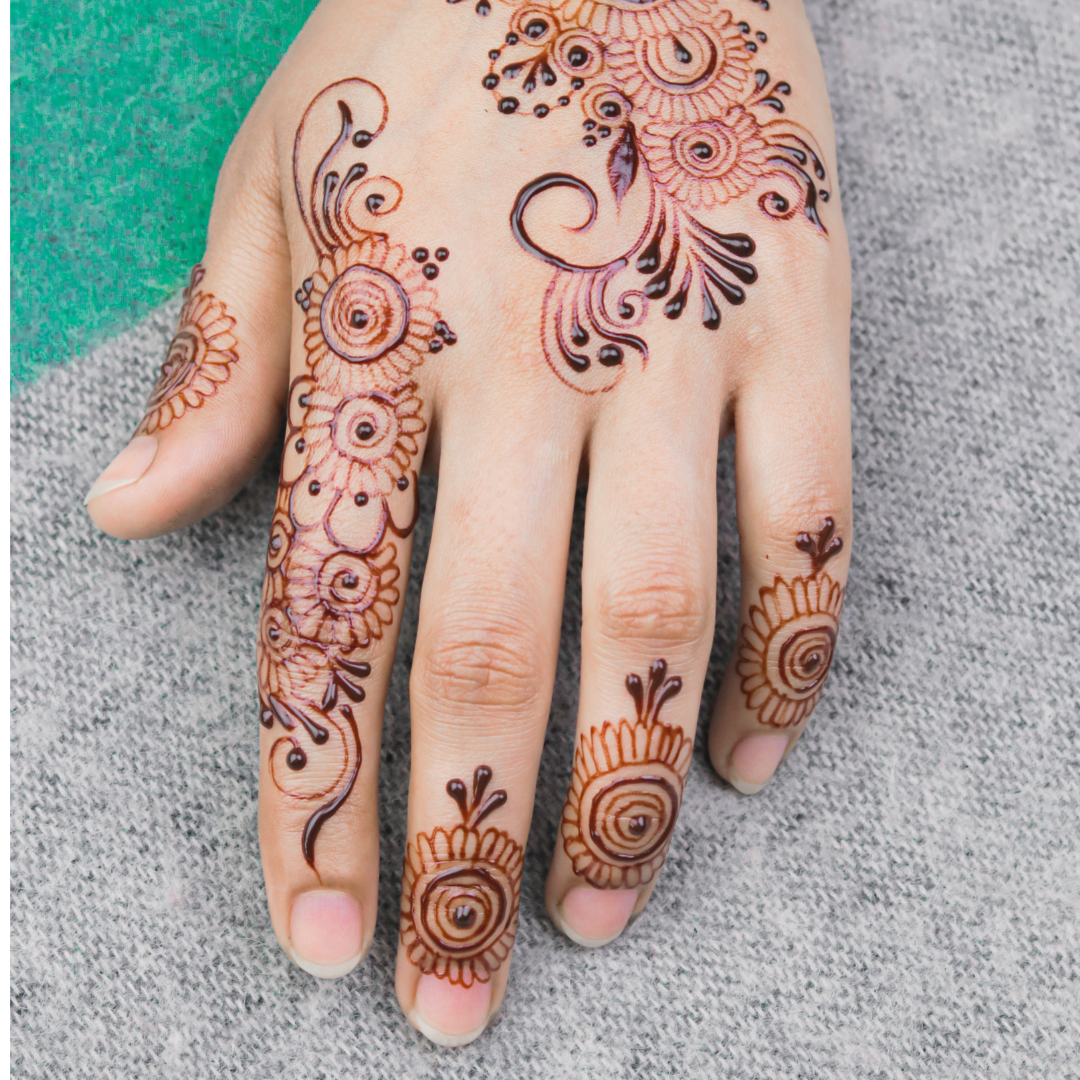
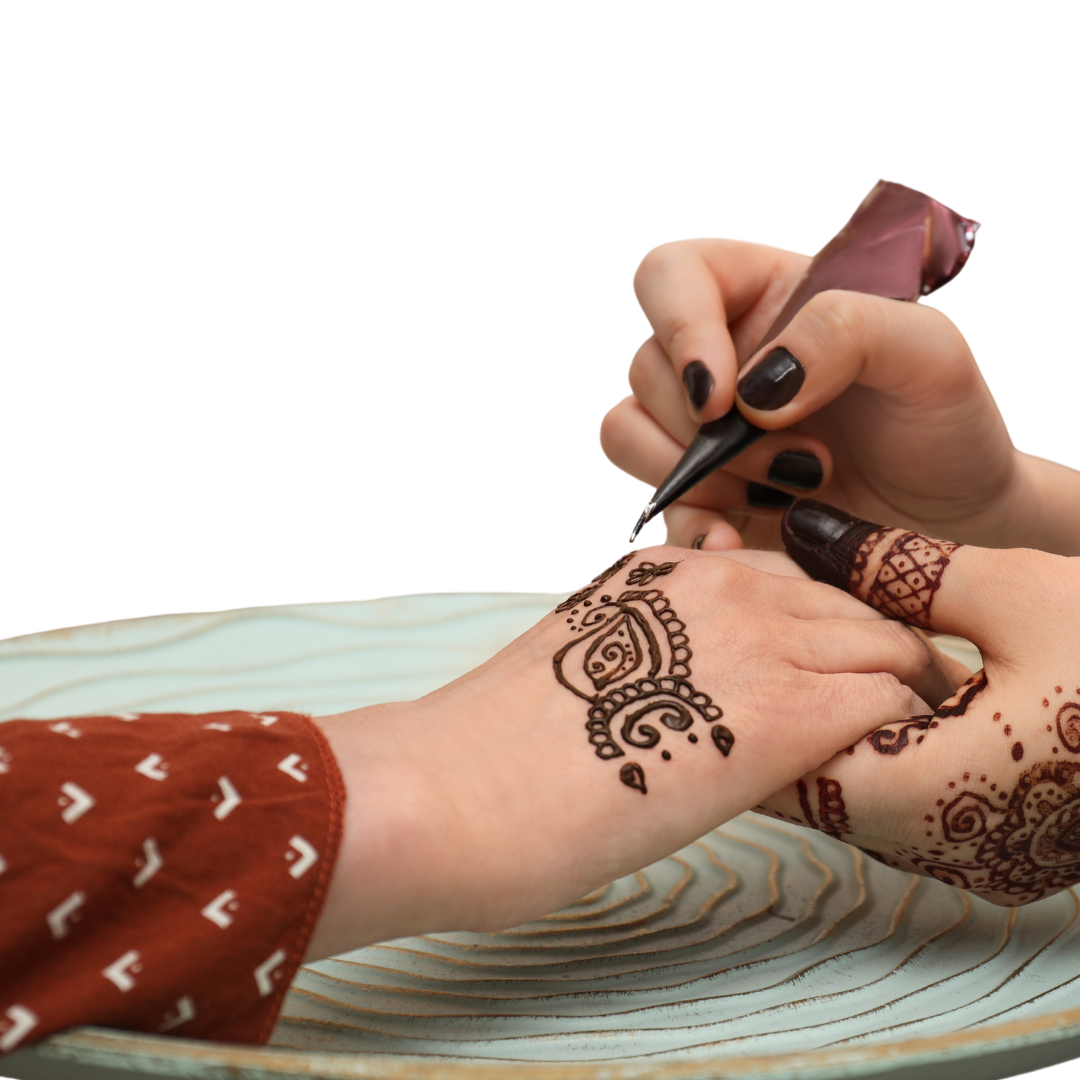
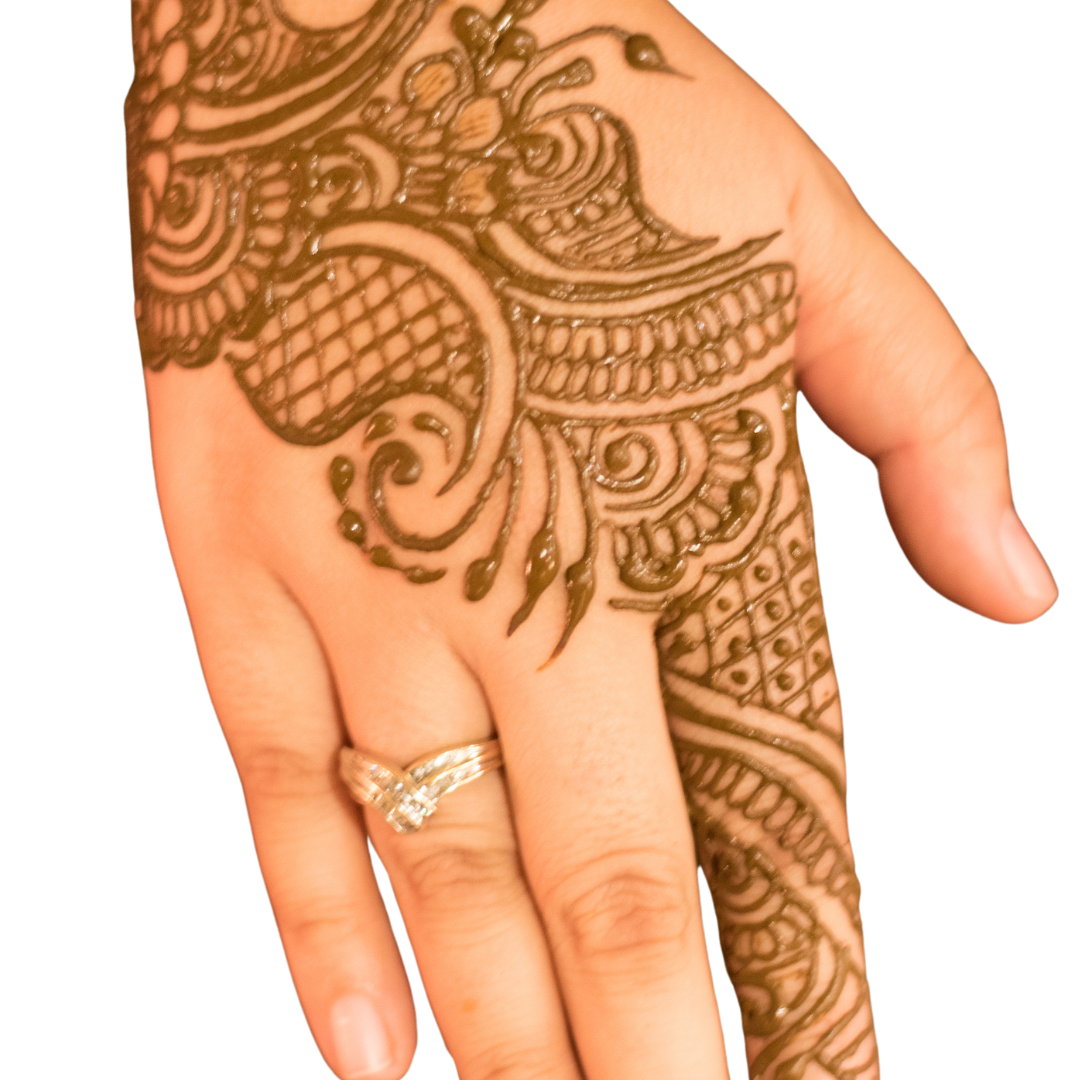
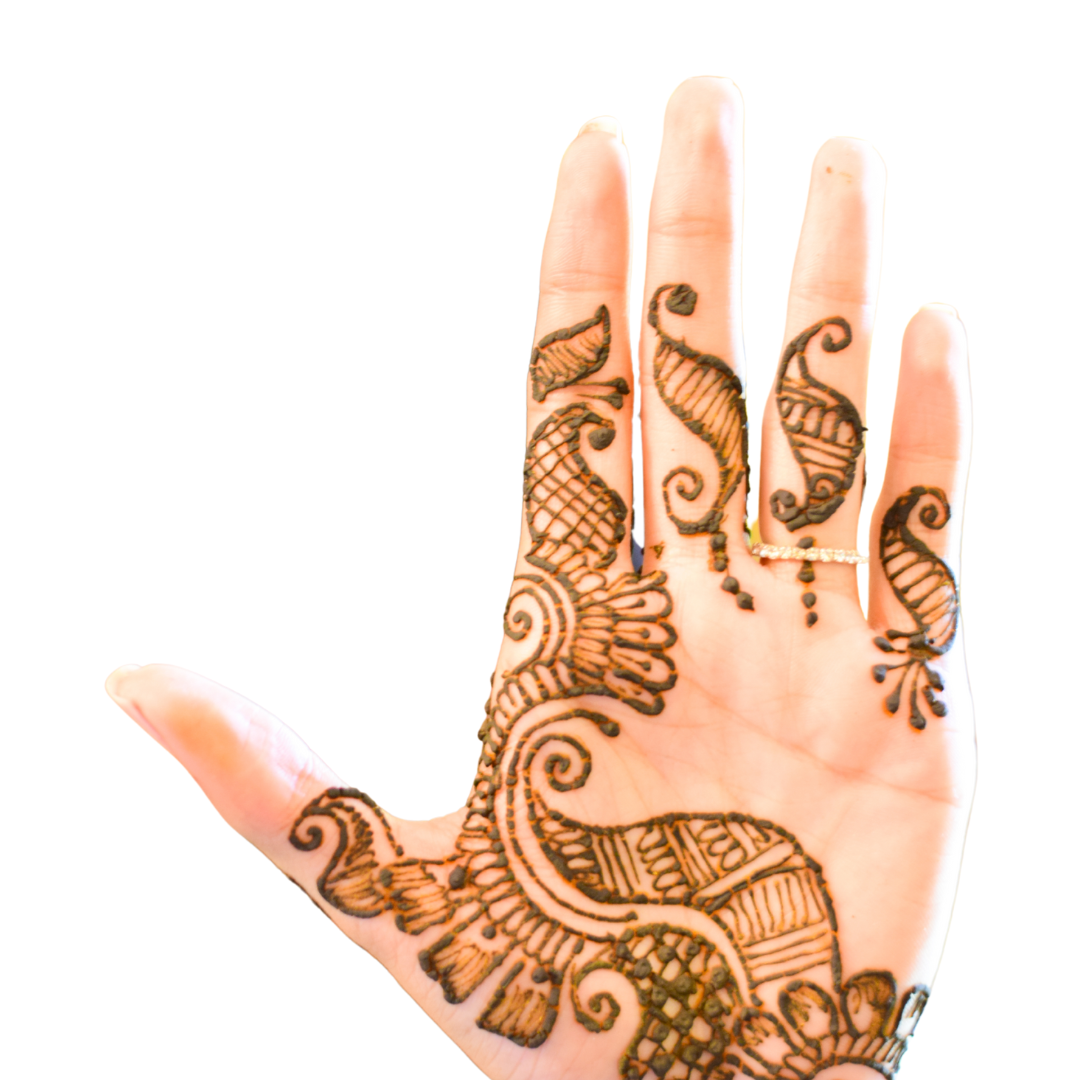
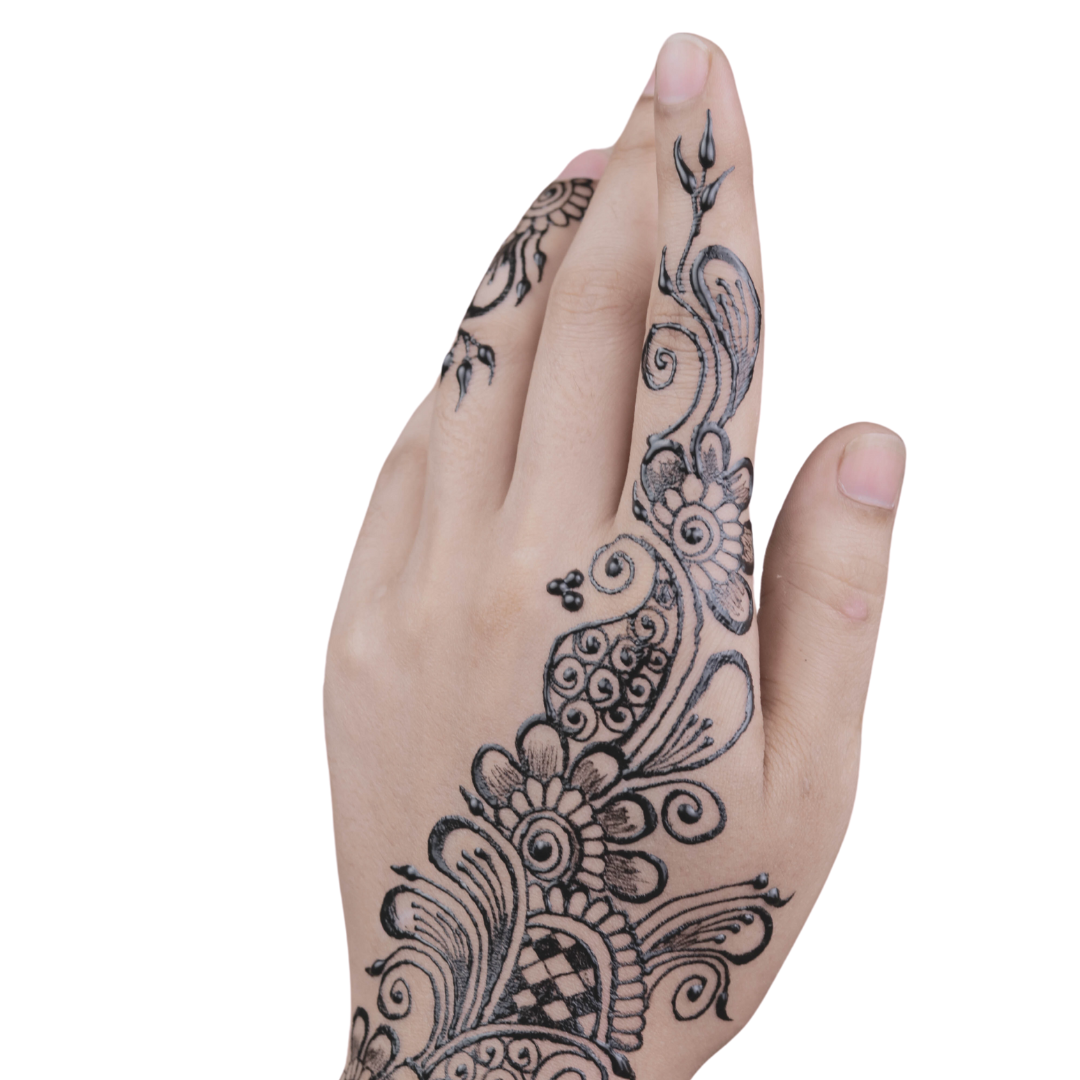
Simple Mehndi Design Photos
